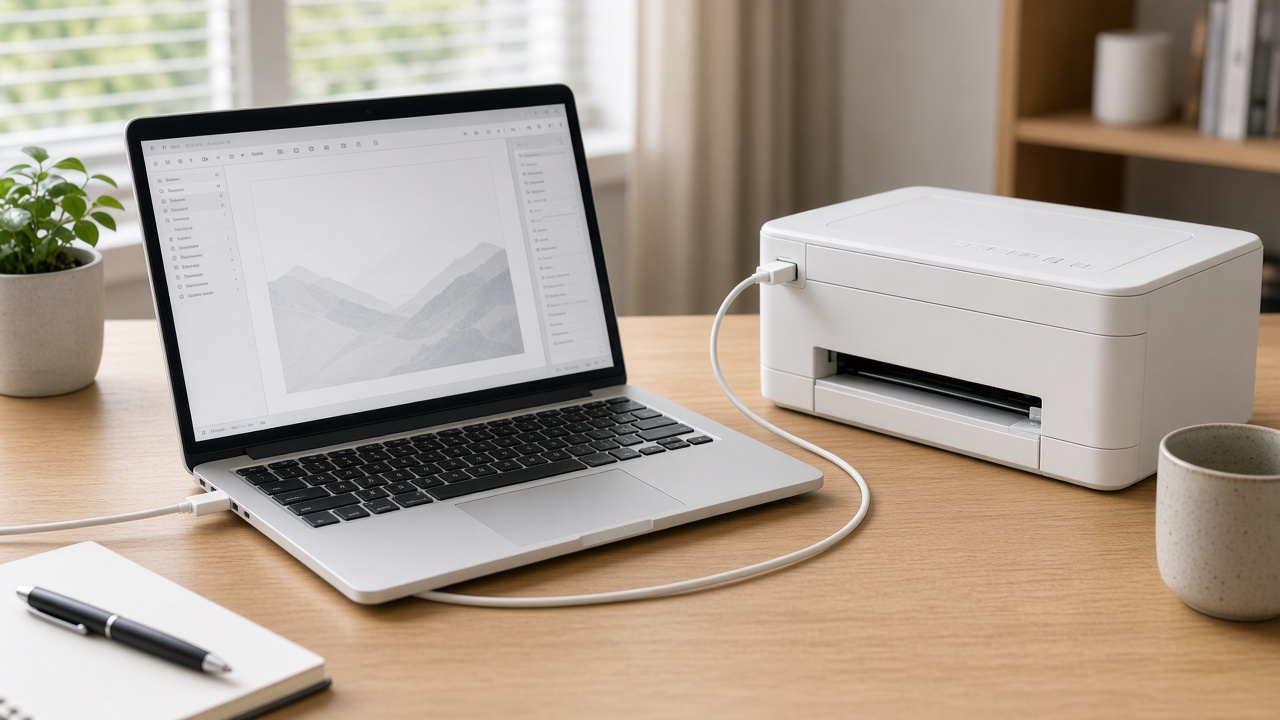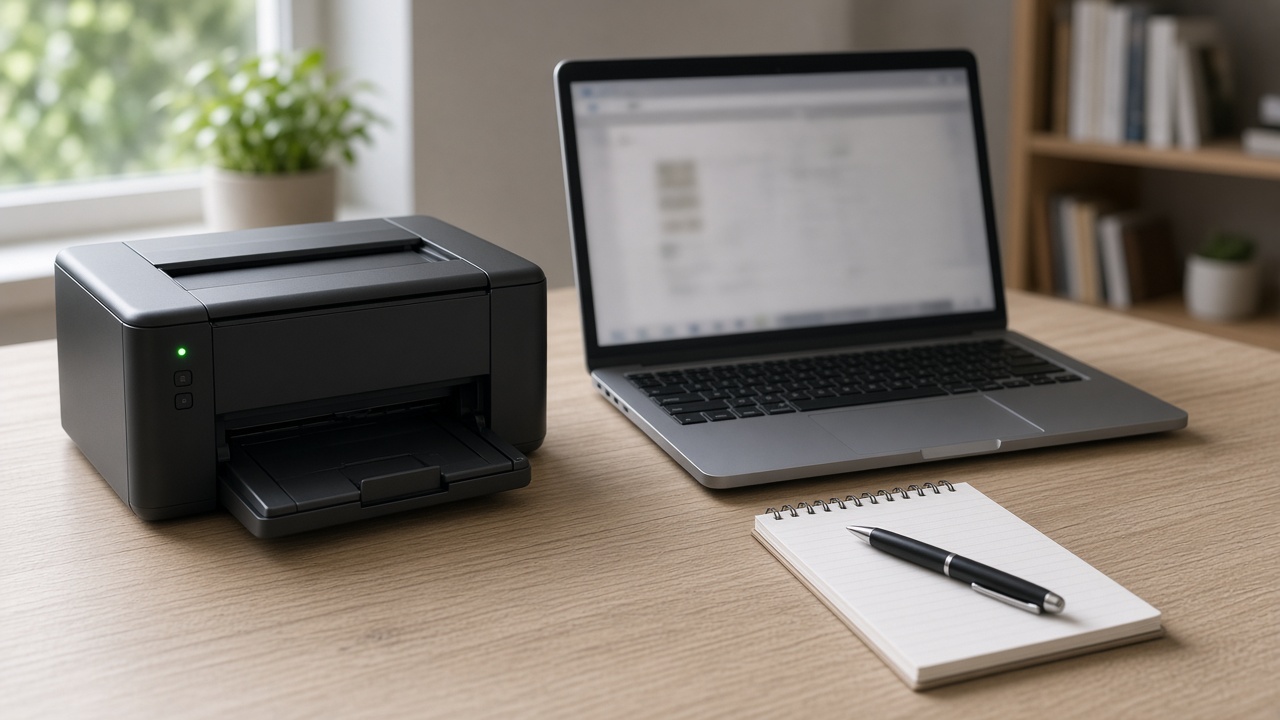
Windows often loses a wireless printer because it is still looking for a name, not an address. The IP address is the number the printer actually uses on your network. Once you have it, you can add the printer directly and skip the discovery list that comes up empty.
Read the IP from the printer
This is the reliable source. The computer can be wrong if the queue is stale.
- On the printer panel, open the network or wireless menu.
- Choose Network configuration, Print status, or TCP/IP.
- Print that page or read the screen.
- Copy the IPv4 address. It looks like 192.168.0.25 or 10.0.0.40.
Ignore IPv6 (a long address with colons) for this setup. Also ignore 0.0.0.0. An address that starts with 169.254 means the printer did not receive an address from the router. Reconnect it to Wi-Fi before you type that number into Windows.
Read it from Windows when the queue already exists
- Settings → Bluetooth & devices → Printers & scanners.
- Open your printer, then Printer properties (the hardware properties, not “Printing preferences”).
- Open the Ports tab.
- If the selected port is Standard TCP/IP, the IP is in the port name or the port configuration.
- If the port says WSD, Windows is not using a stable IP. Get the address from the printer panel instead.
You can also open the router’s device list and look for the printer name. Use that only as a backup. The configuration page from the printer is the one to trust.
Add the printer with that address
- Printers & scanners → Add device.
- If it is not listed, choose Add manually or “The printer that I want isn’t listed.”
- Select Add a printer using an IP address or hostname.
- Device type: TCP/IP.
- Enter the IPv4 address. Uncheck the option to query the printer if Windows hangs on that step, then continue and pick your model’s driver.
- Print a test page.
After it works, leave the port on Standard TCP/IP. Replacing it with a WSD port is what makes the same printer disappear next week.
Keep the address from changing
In the router, reserve or “pin” that IP for the printer’s MAC address. The reservation uses the number you already printed. The printer then keeps it after a router reboot, and the Windows port stays valid.
What not to do
- Do not type the router’s own address (often 192.168.1.1 or 192.168.0.1) as the printer. That is the gateway, not the printer.
- Do not use a 169.254 address in the port. Fix Wi-Fi first.
- Do not search the web for “printer IP lookup” tools. The address is local. It is not in a public directory.
If you can read the IPv4 address and Windows still will not finish the TCP/IP port, call +1 888 759 4448. Have that number ready. Remote support can build the port on the PC from there.
Frequently asked questions
Where do I see the printer IP on the device?+
Open the wireless or network menu and look for Network Configuration, Print Network Status, or TCP/IP. The IPv4 address is four numbers separated by dots, such as 192.168.1.42.
How do I see it in Windows without walking to the printer?+
Settings → Bluetooth & devices → Printers & scanners → your printer → Printer properties → Ports. A Standard TCP/IP port often shows the IP. WSD ports usually do not.
What is a normal home printer IP?+
It is a private address on your router, often starting with 192.168, 10., or 172.16. An address that starts with 169.254 means the printer did not get an address from the router.
The IP changed and Windows went offline. What should I do?+
Print a fresh network page, note the new IPv4 address, and point the Standard TCP/IP port at it. Reserving that address in the router stops the next change.
Can remote support add the printer by IP?+
Yes, once you can read the IPv4 address from the printer. The technician can create the TCP/IP port and test the queue from your PC.